We’ve been honored to receive many photos and stories from folks who have used our treehouse designs to build their own fantastic treehouses. Over the years, we’ve compiled quite a sizable archive of these stories of proud treehouse DIY-ers from around the world. To share their success stories, we’re kicking off a series of blog posts featuring their work. Today, we bring you three treehouses by DIY-ers in Pennsylvania, Vermont, and New York. Scroll through the slideshows of their photos and read the descriptions of their projects. You might get inspired to build your very own treehouse!
Have you used one of our treehouse plans to build your own treehouse, and are you interested in sharing your story? Send images of your treehouse with a description of your project, plans used, and location to blog@nelsontreehouseandsupply.com.
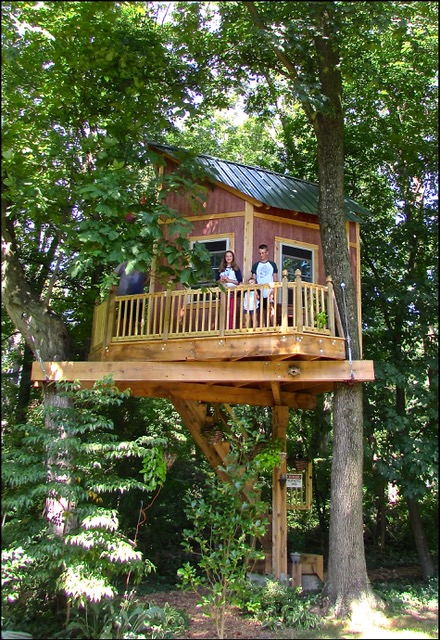
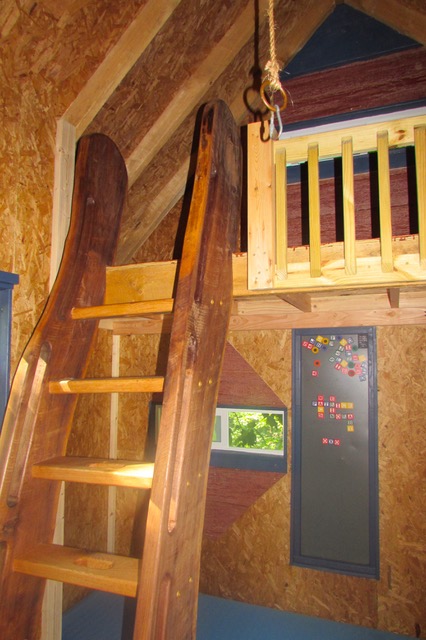
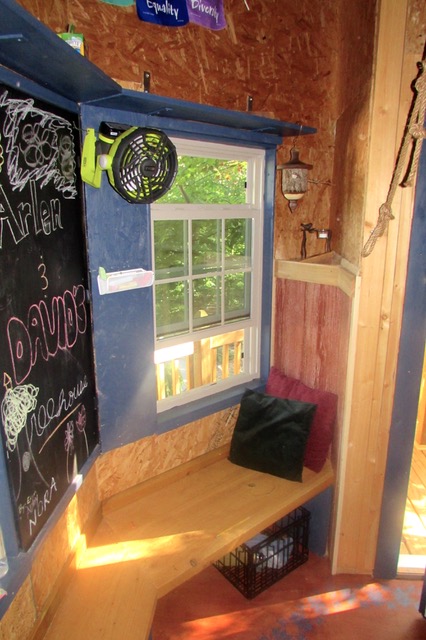
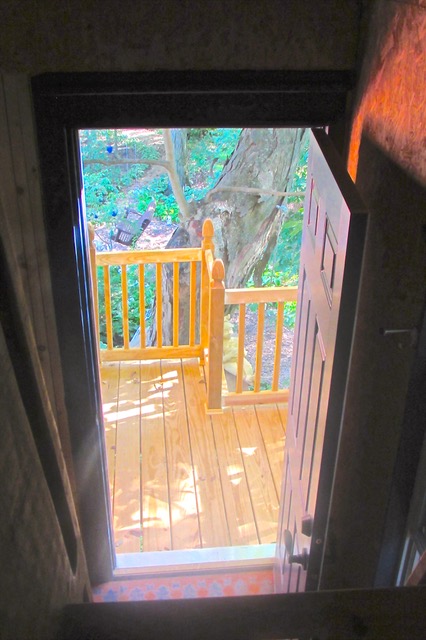
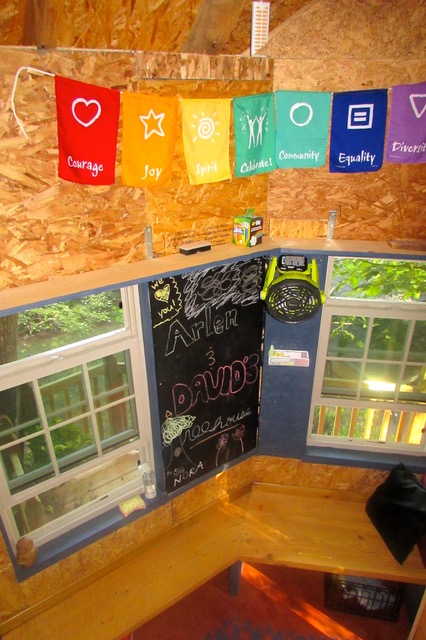
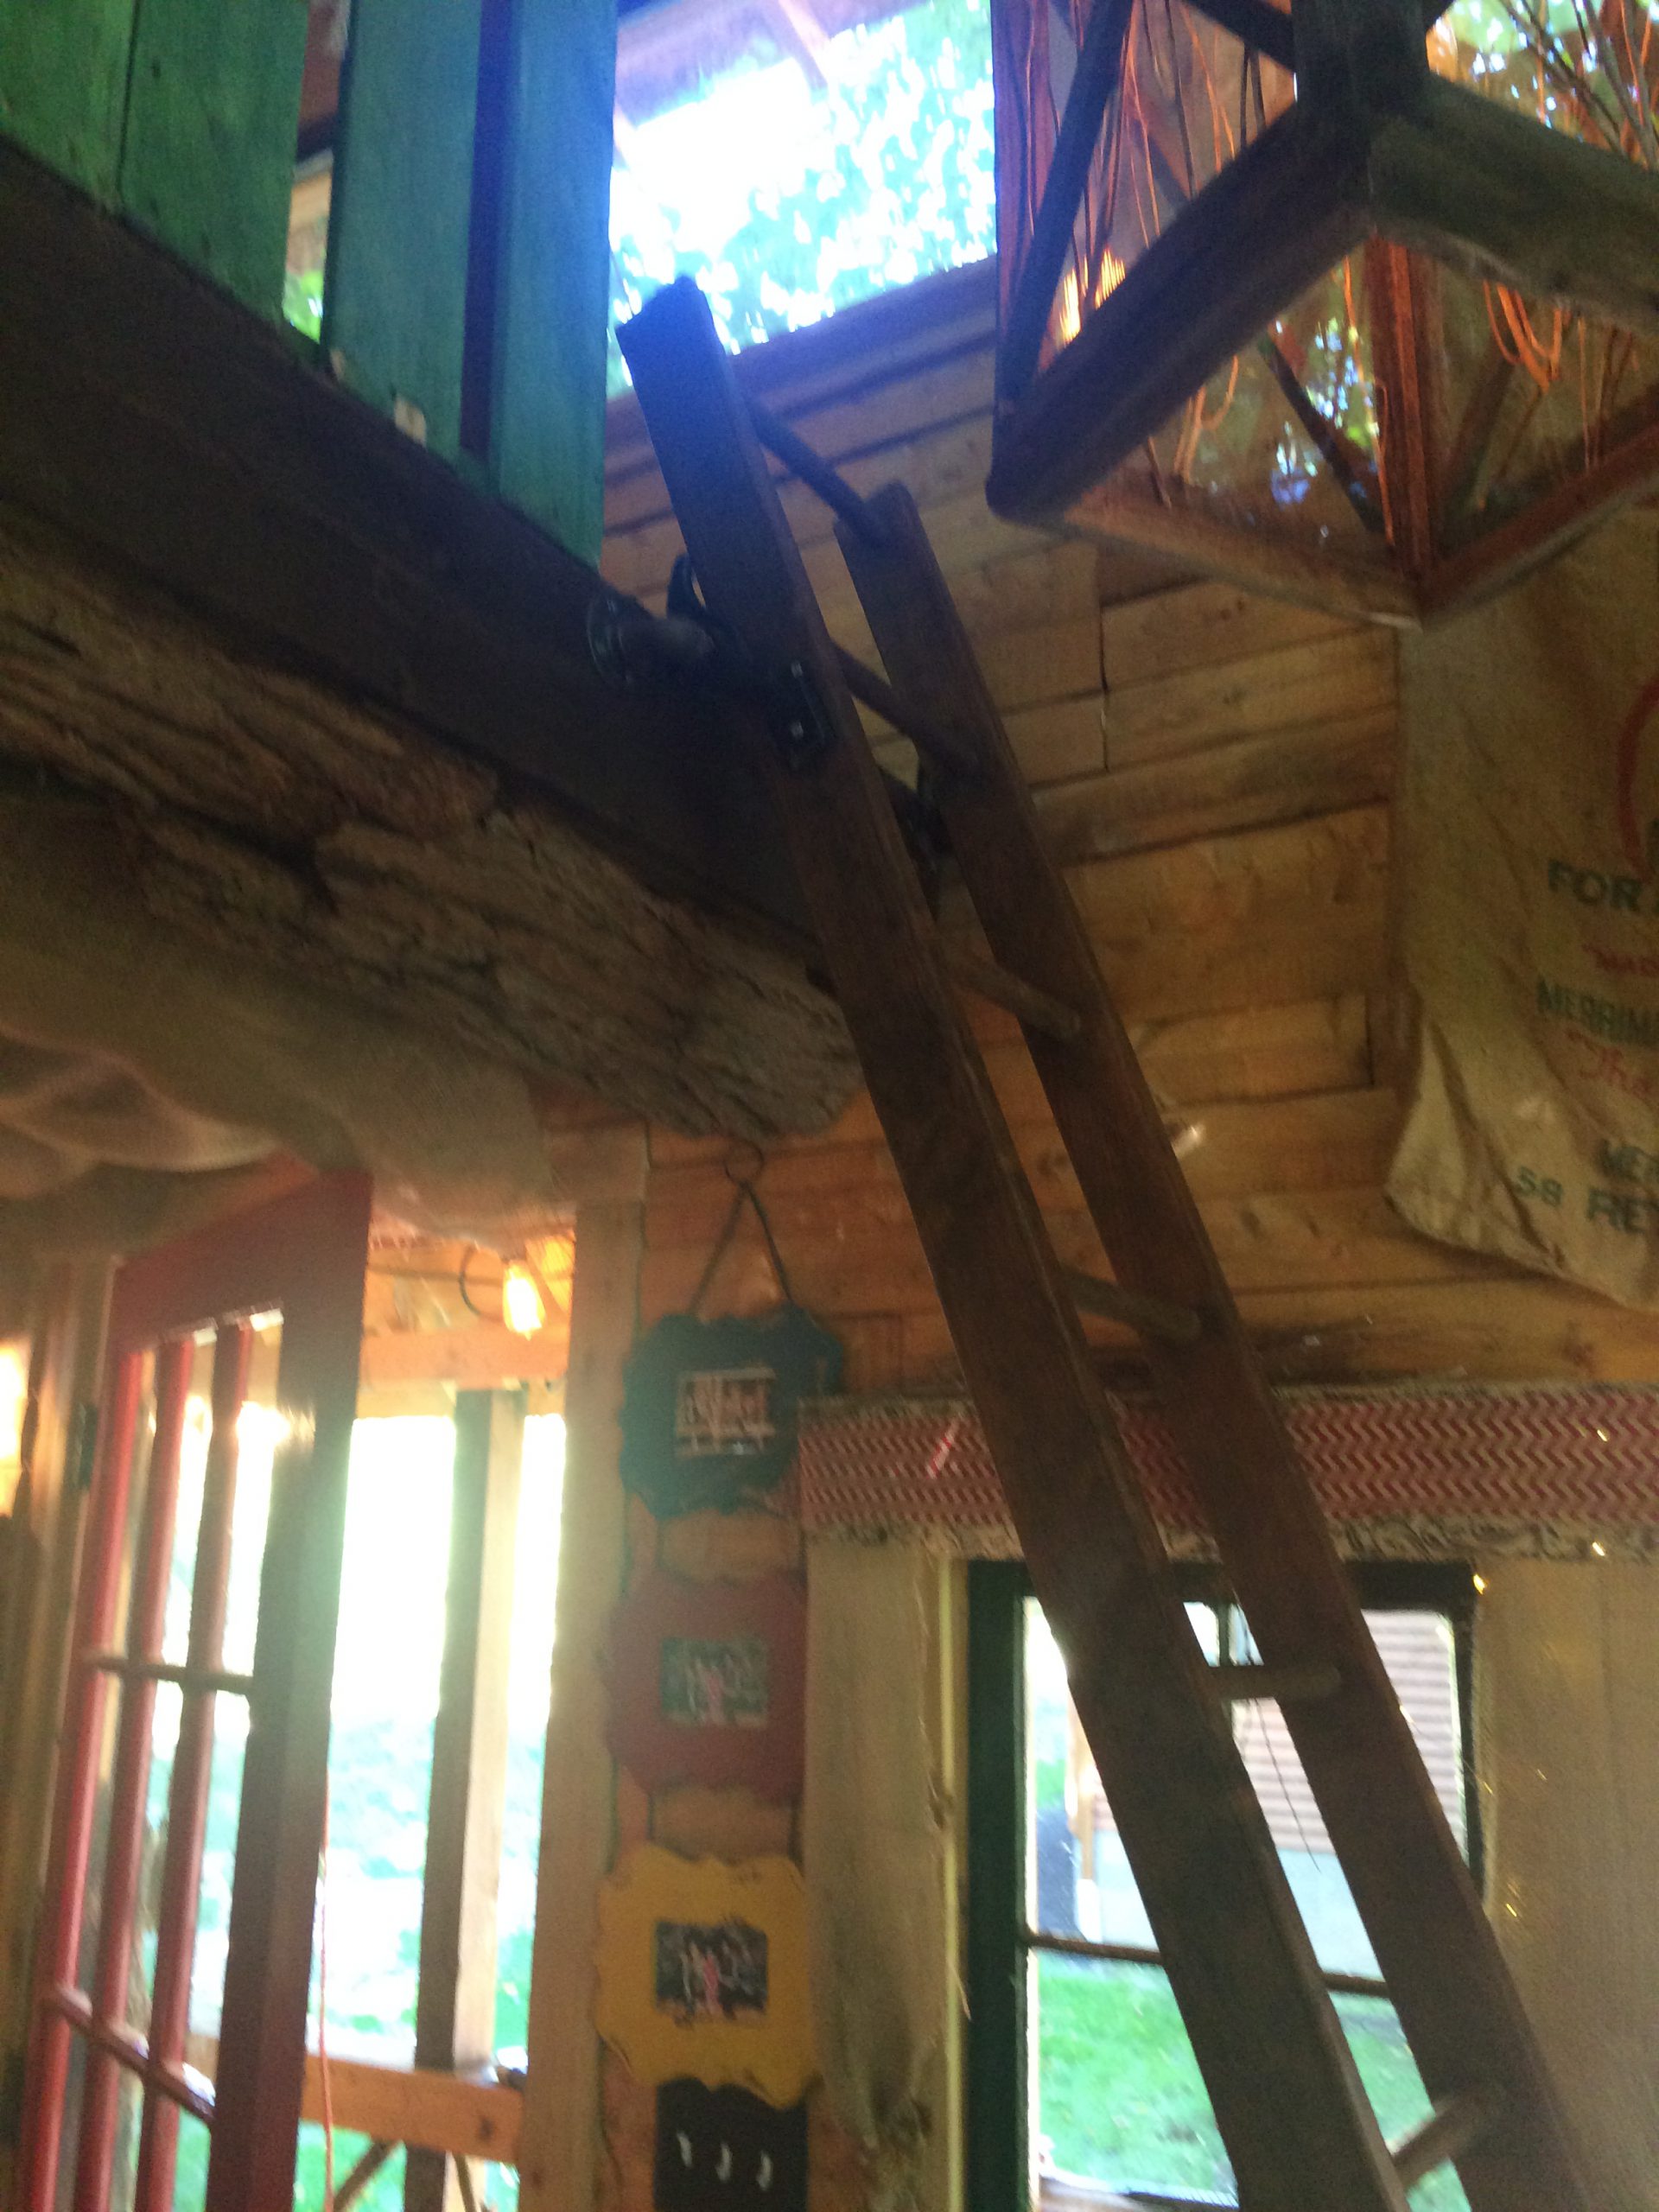
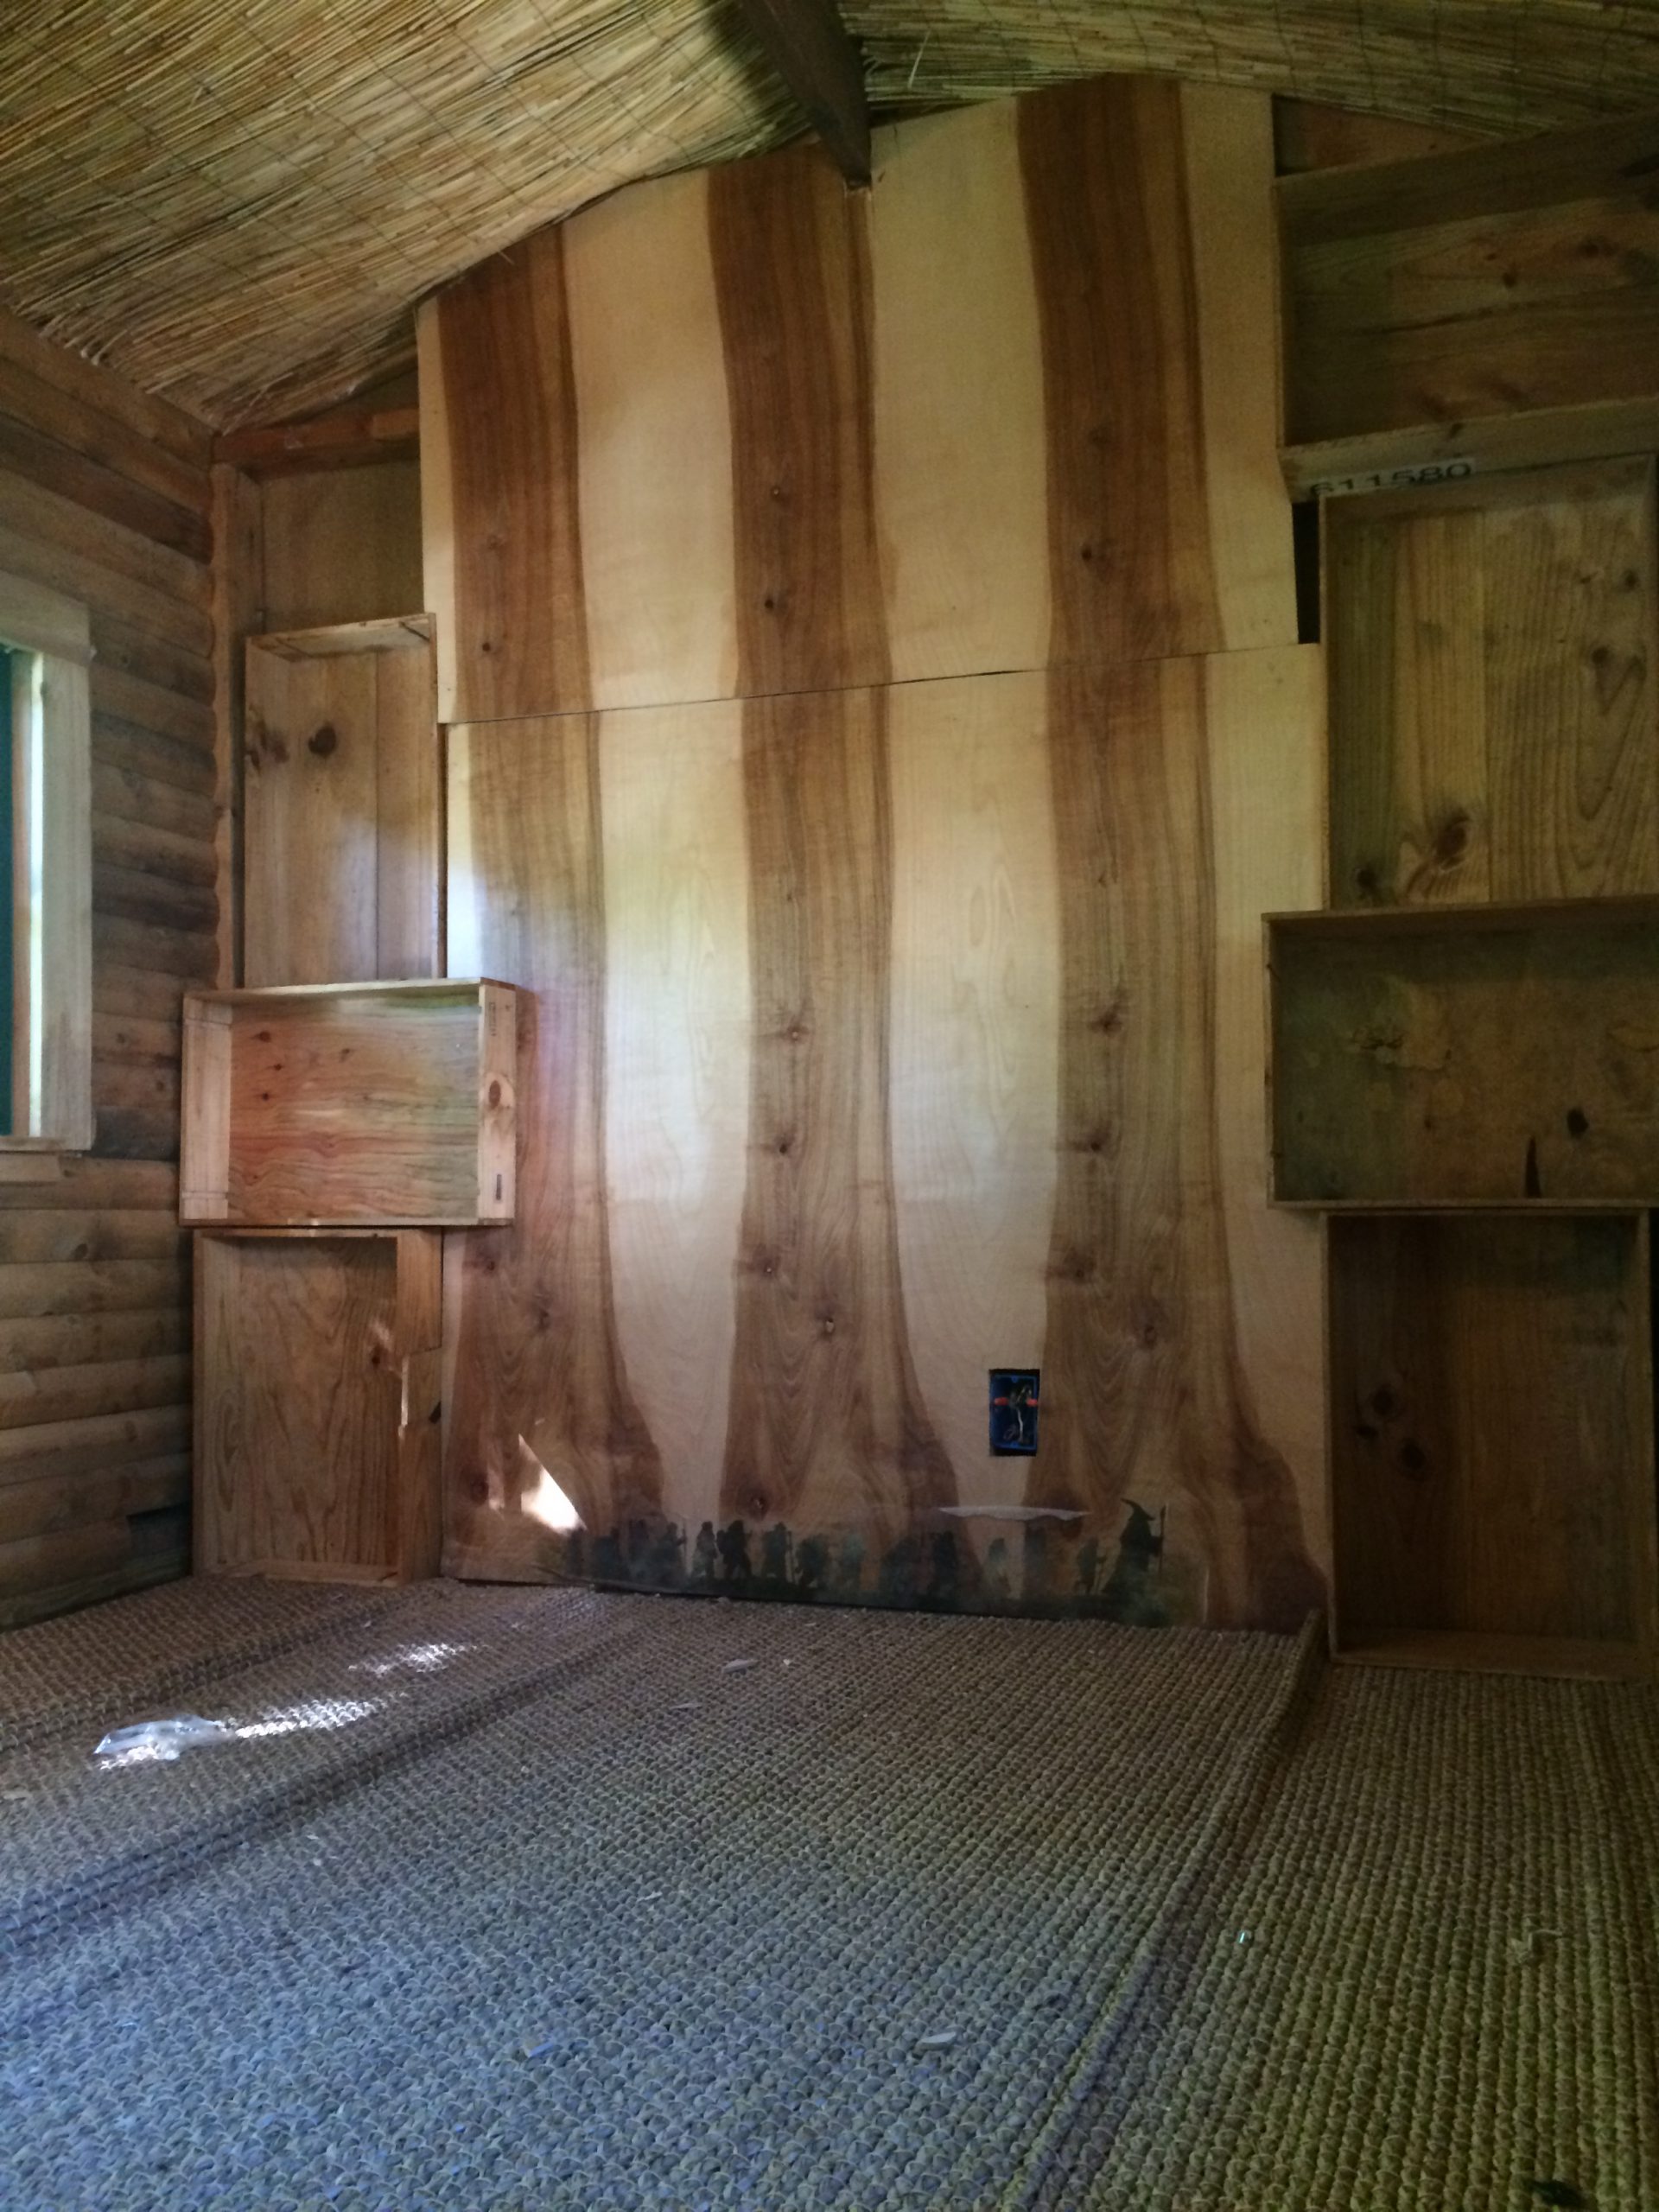
WHERE: Pennsylvania
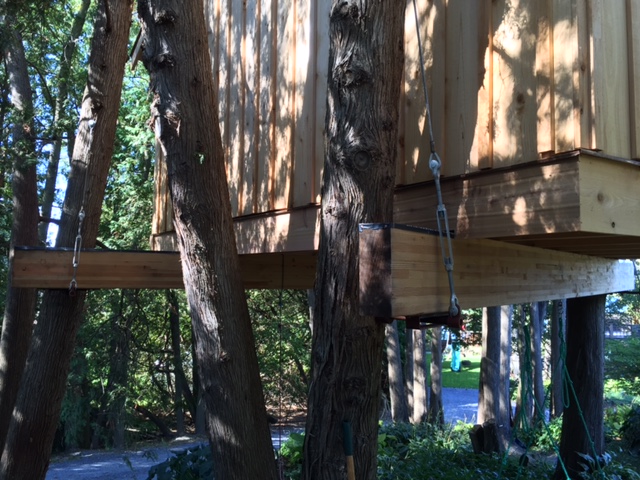
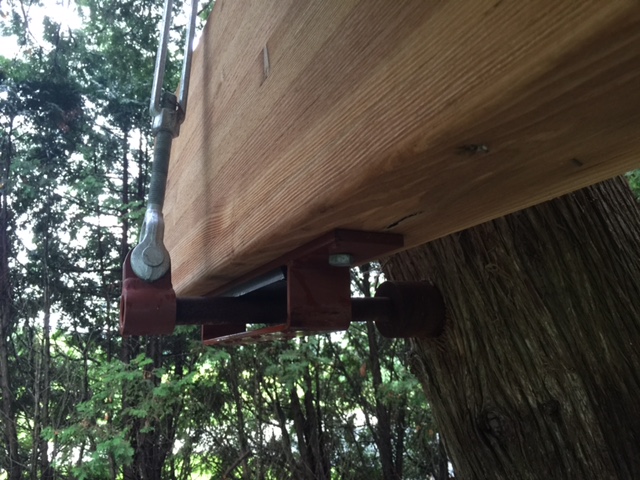
Arlen and David built their treehouse using our Stelicoom plan. Their treehouse is a great example of flexibility; although the Stelicoom plan called for a yoke, their tree had a large bend in it, making it difficult for one TAB to sit directly above the other as is necessary for a yoke. Arlen consulted Nelson Treehouse and Supply, and together we solved the problem with a post. Using a post ultimately was more economical than the original yoke configuration, and gave Arlen and David a larger footprint and more flexibility with their design. By also making some adjustments to the walls, Arlen and David created a totally unique design.
According to Devin Hanley, an NT&S treehouse specialist who often consults telephonically with DIY-ers, the issue Arlen and David confronted with using a yoke in an unaccommodating tree is one of the most common challenges that he sees. Yokes are an excellent way to widen a platform if another tree is not available, but they can also be expensive, difficult to have made, and tricky to install. When yoke installation is not feasible, Devin recommends using a post. In Devin’s words,
“Posts are simple, cheap, and usually allow someone to have a larger platform than they would with a yoke. Once Arlen and David warmed up to having a treehouse that was not 100% supported by trees, they were able to start building and, in my opinion, have a better end-result for it. Arlen and David’s treehouse is one of the best examples of working with what you have. It’s one of the most important things with treehouses and is a great example of how to customize our plans.”

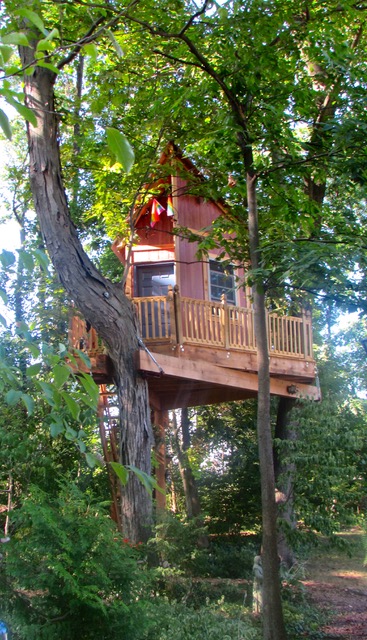
WHERE: Vermont
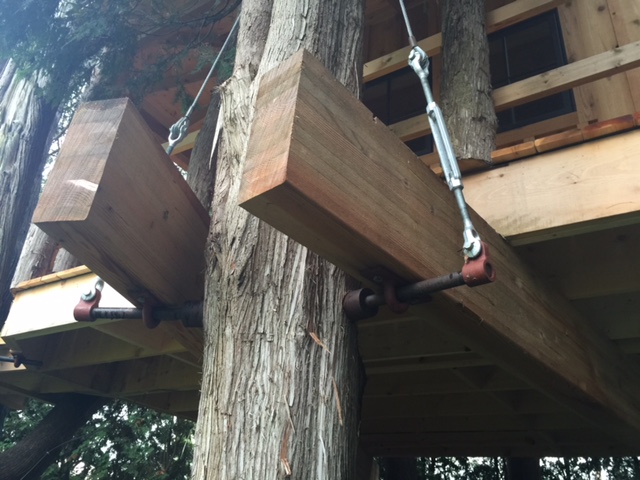
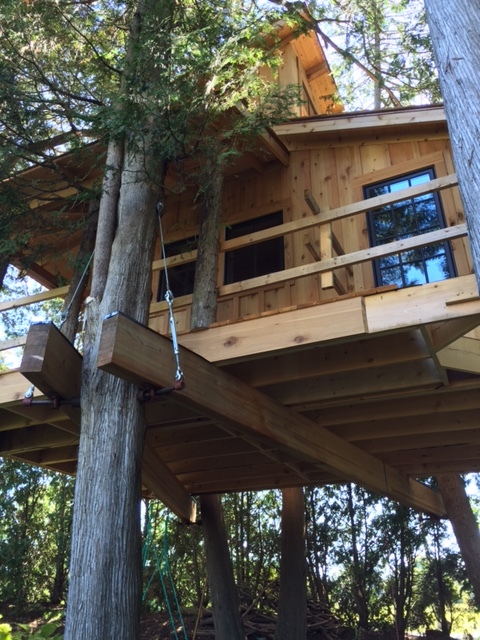
Nathan did an amazing job creating this strong and stunning treehouse that looks perfectly at home in the surrounding lakeside forest. Nathan started with Be in a Tree’s Oso treehouse design and modified it to meet his family’s needs. He installed TABs into large Eastern white cedars and cabled the ends of each TAB for additional strength. Still left on Nathan’s to-do list? A staircase, railings, and fun accoutrements. Continually adding to the structure is one of the most exciting parts of treehouse-building; we love how Nathan’s treehouse will continue to change as his vision grows.
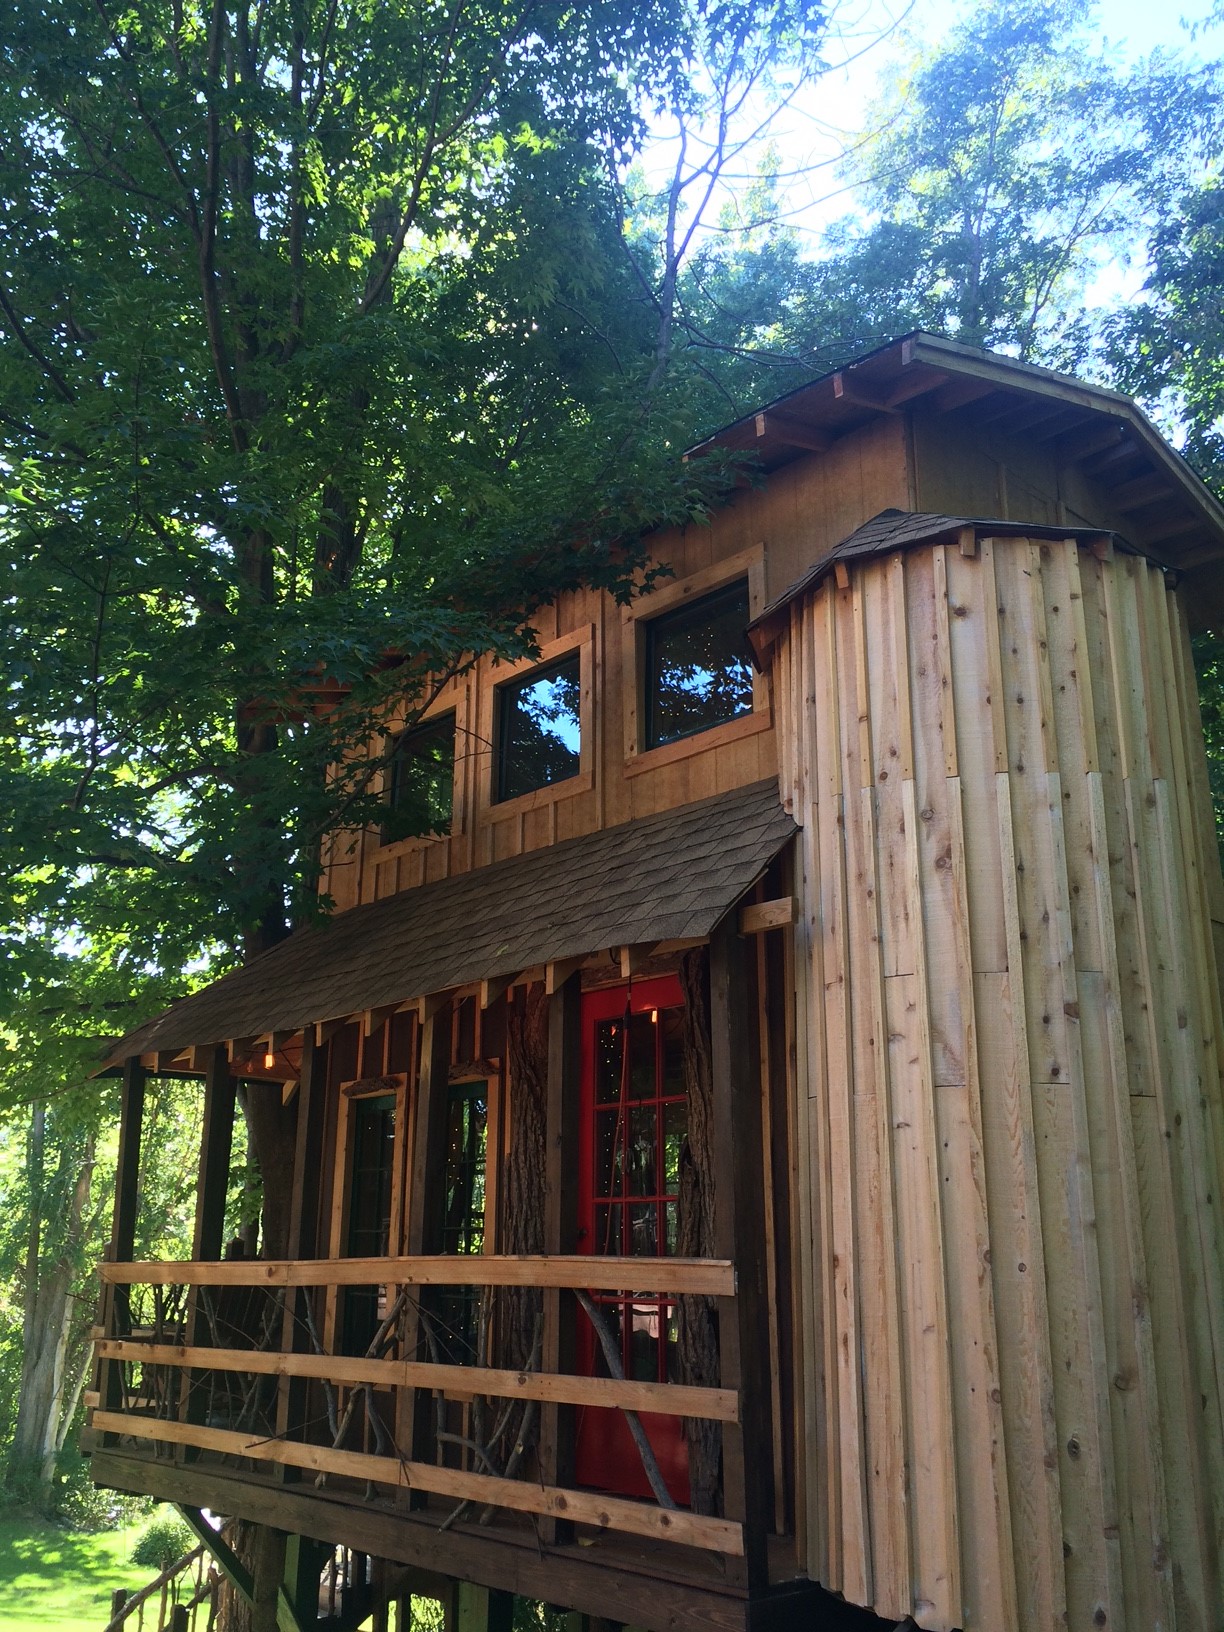
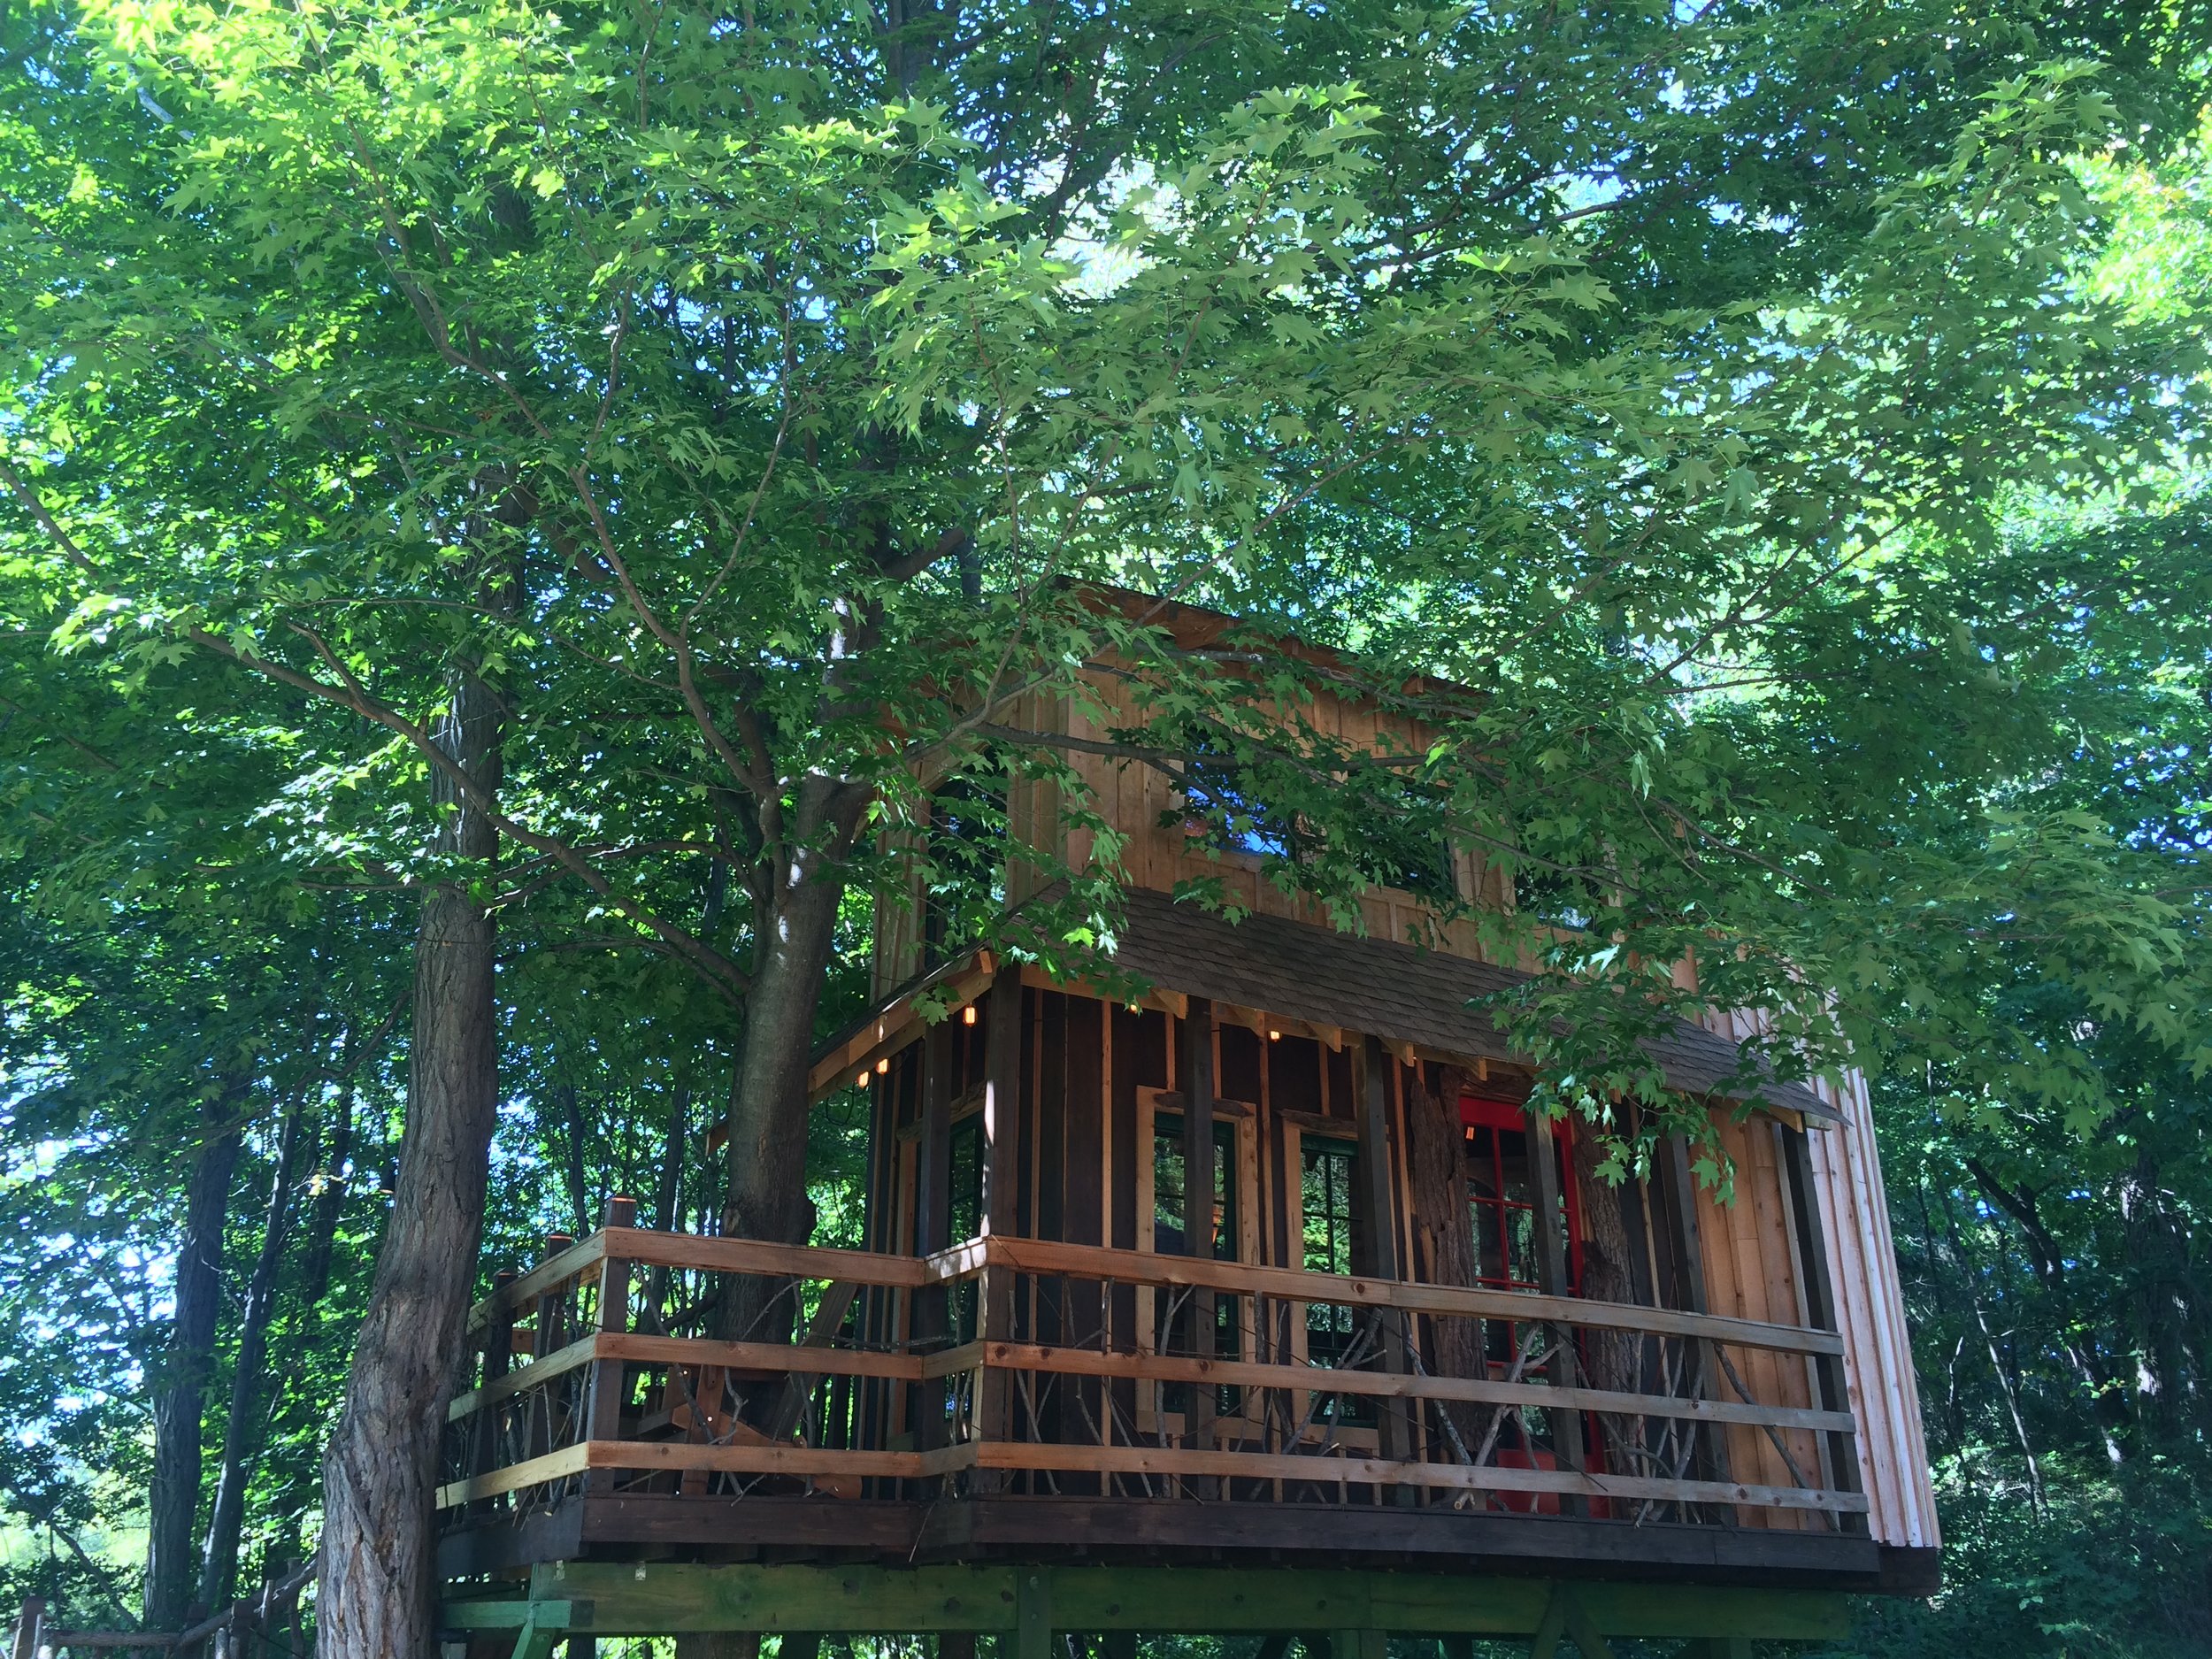
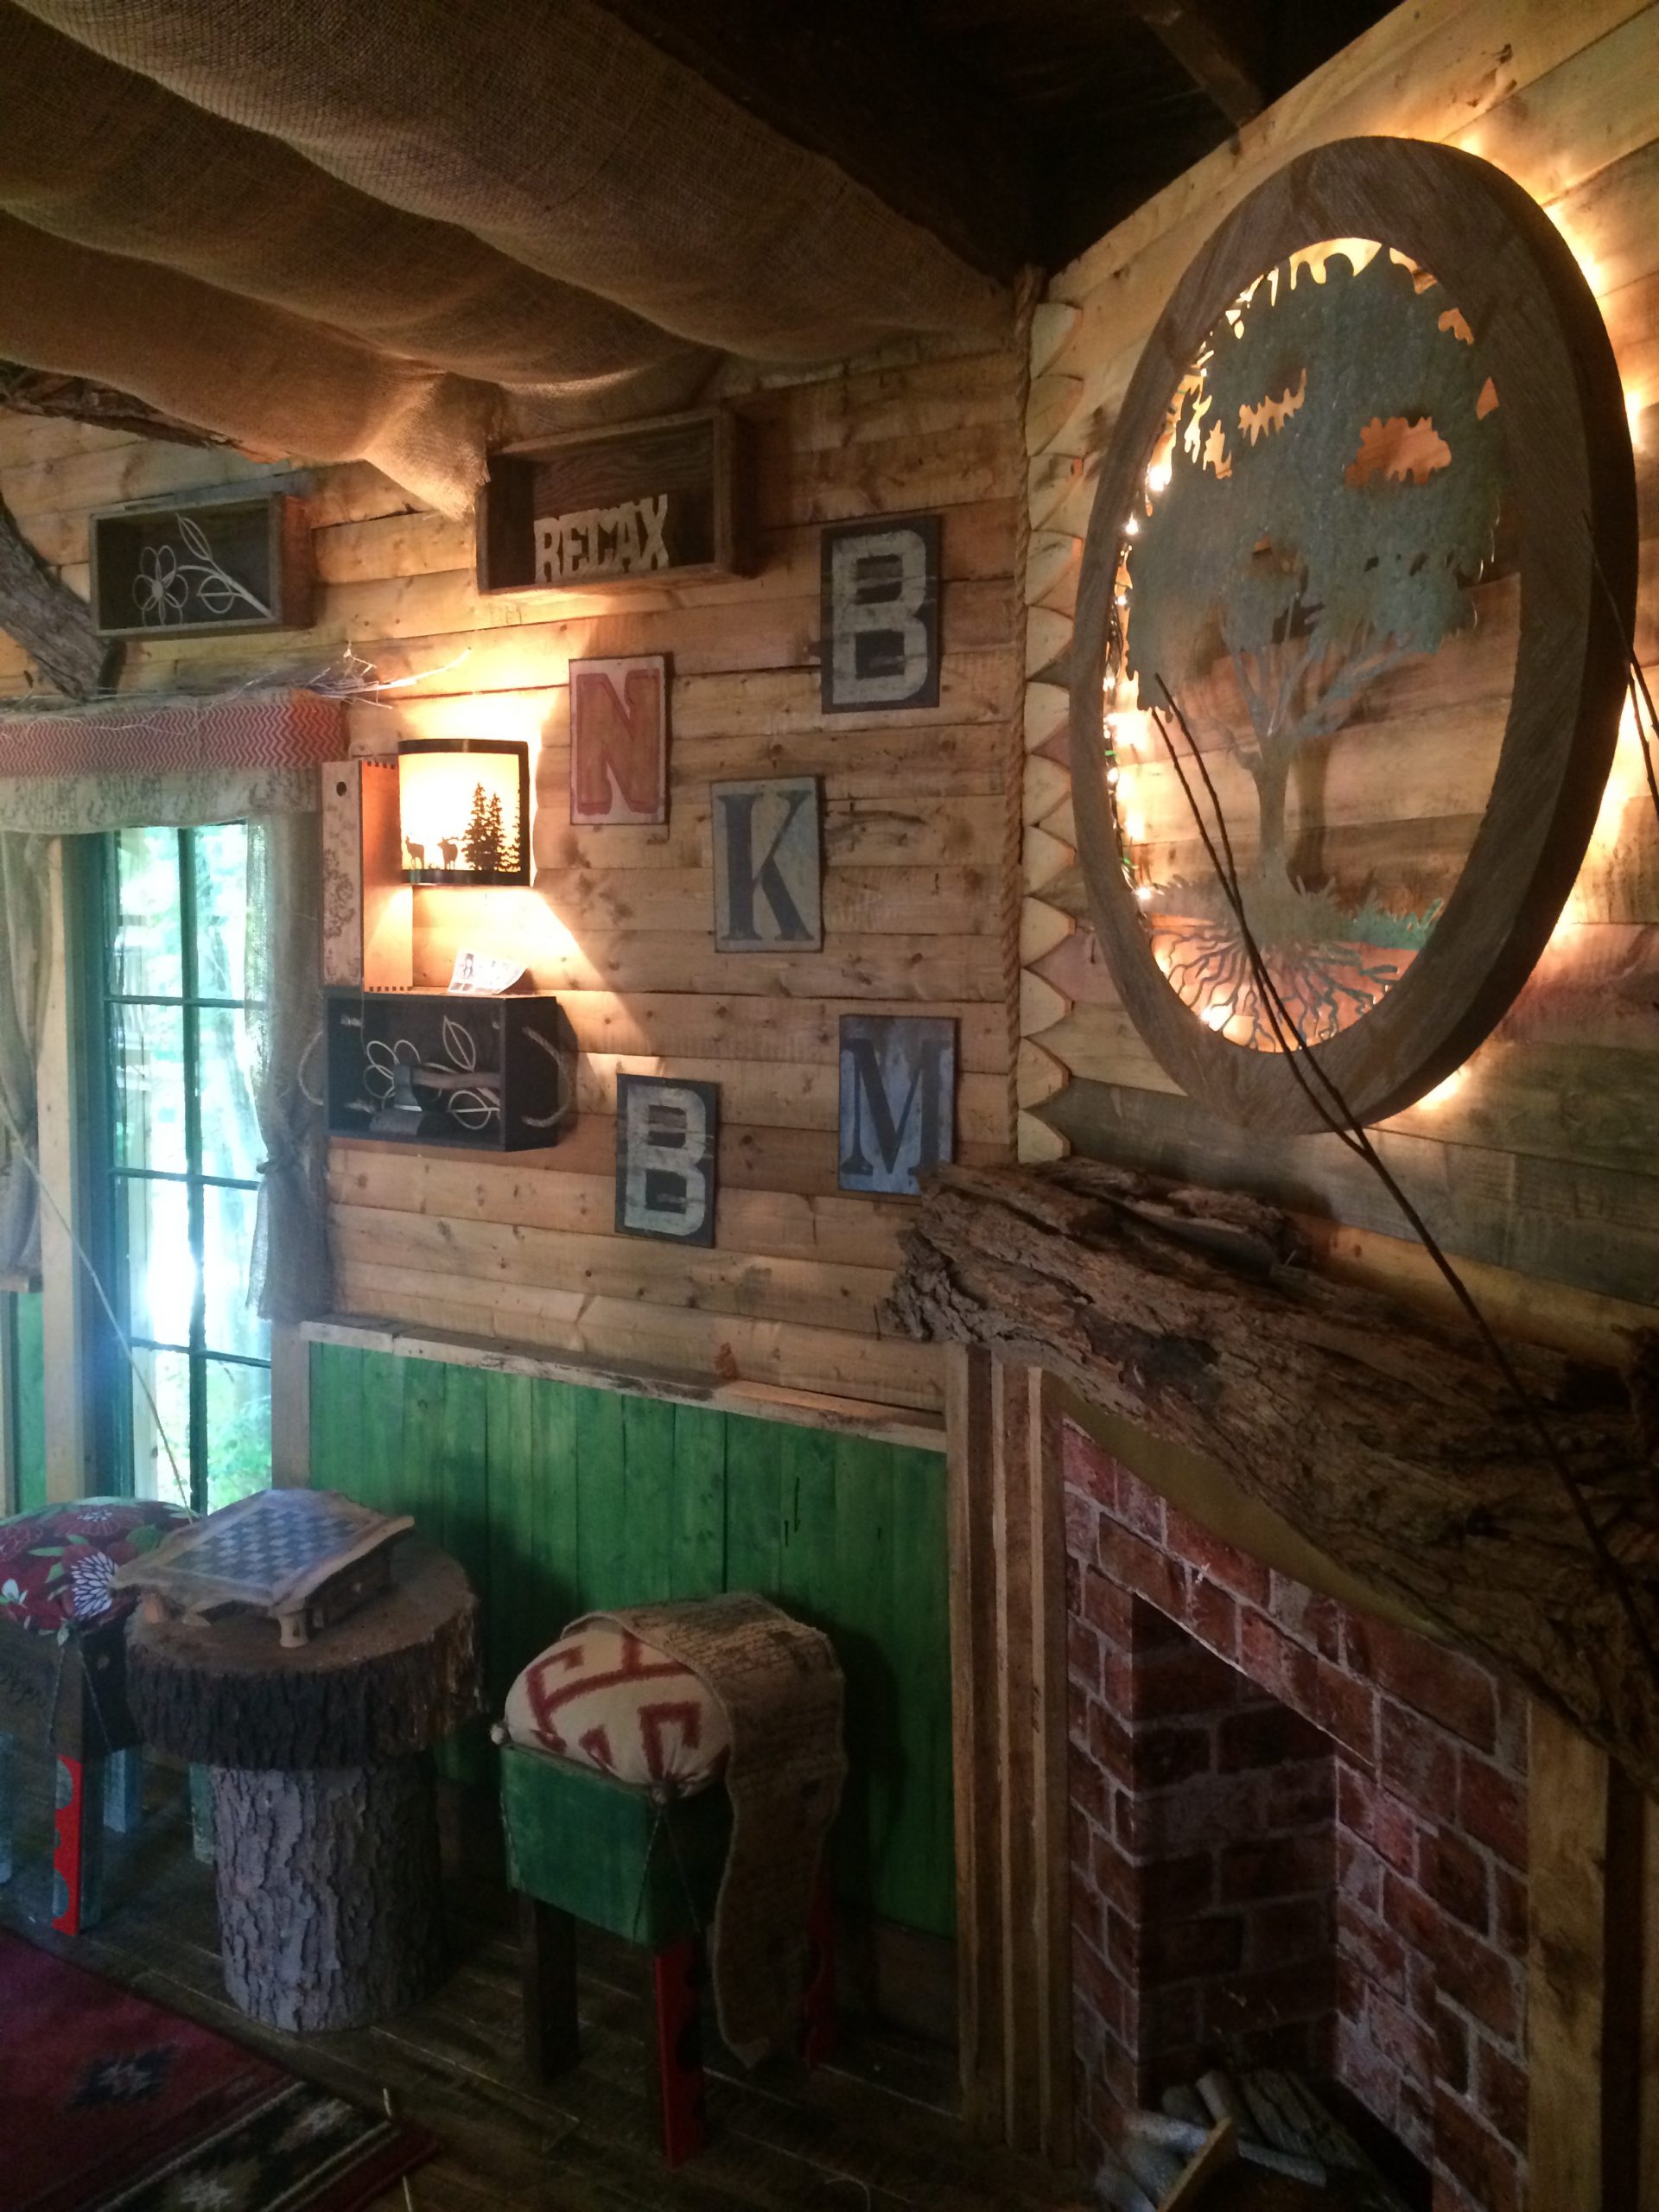
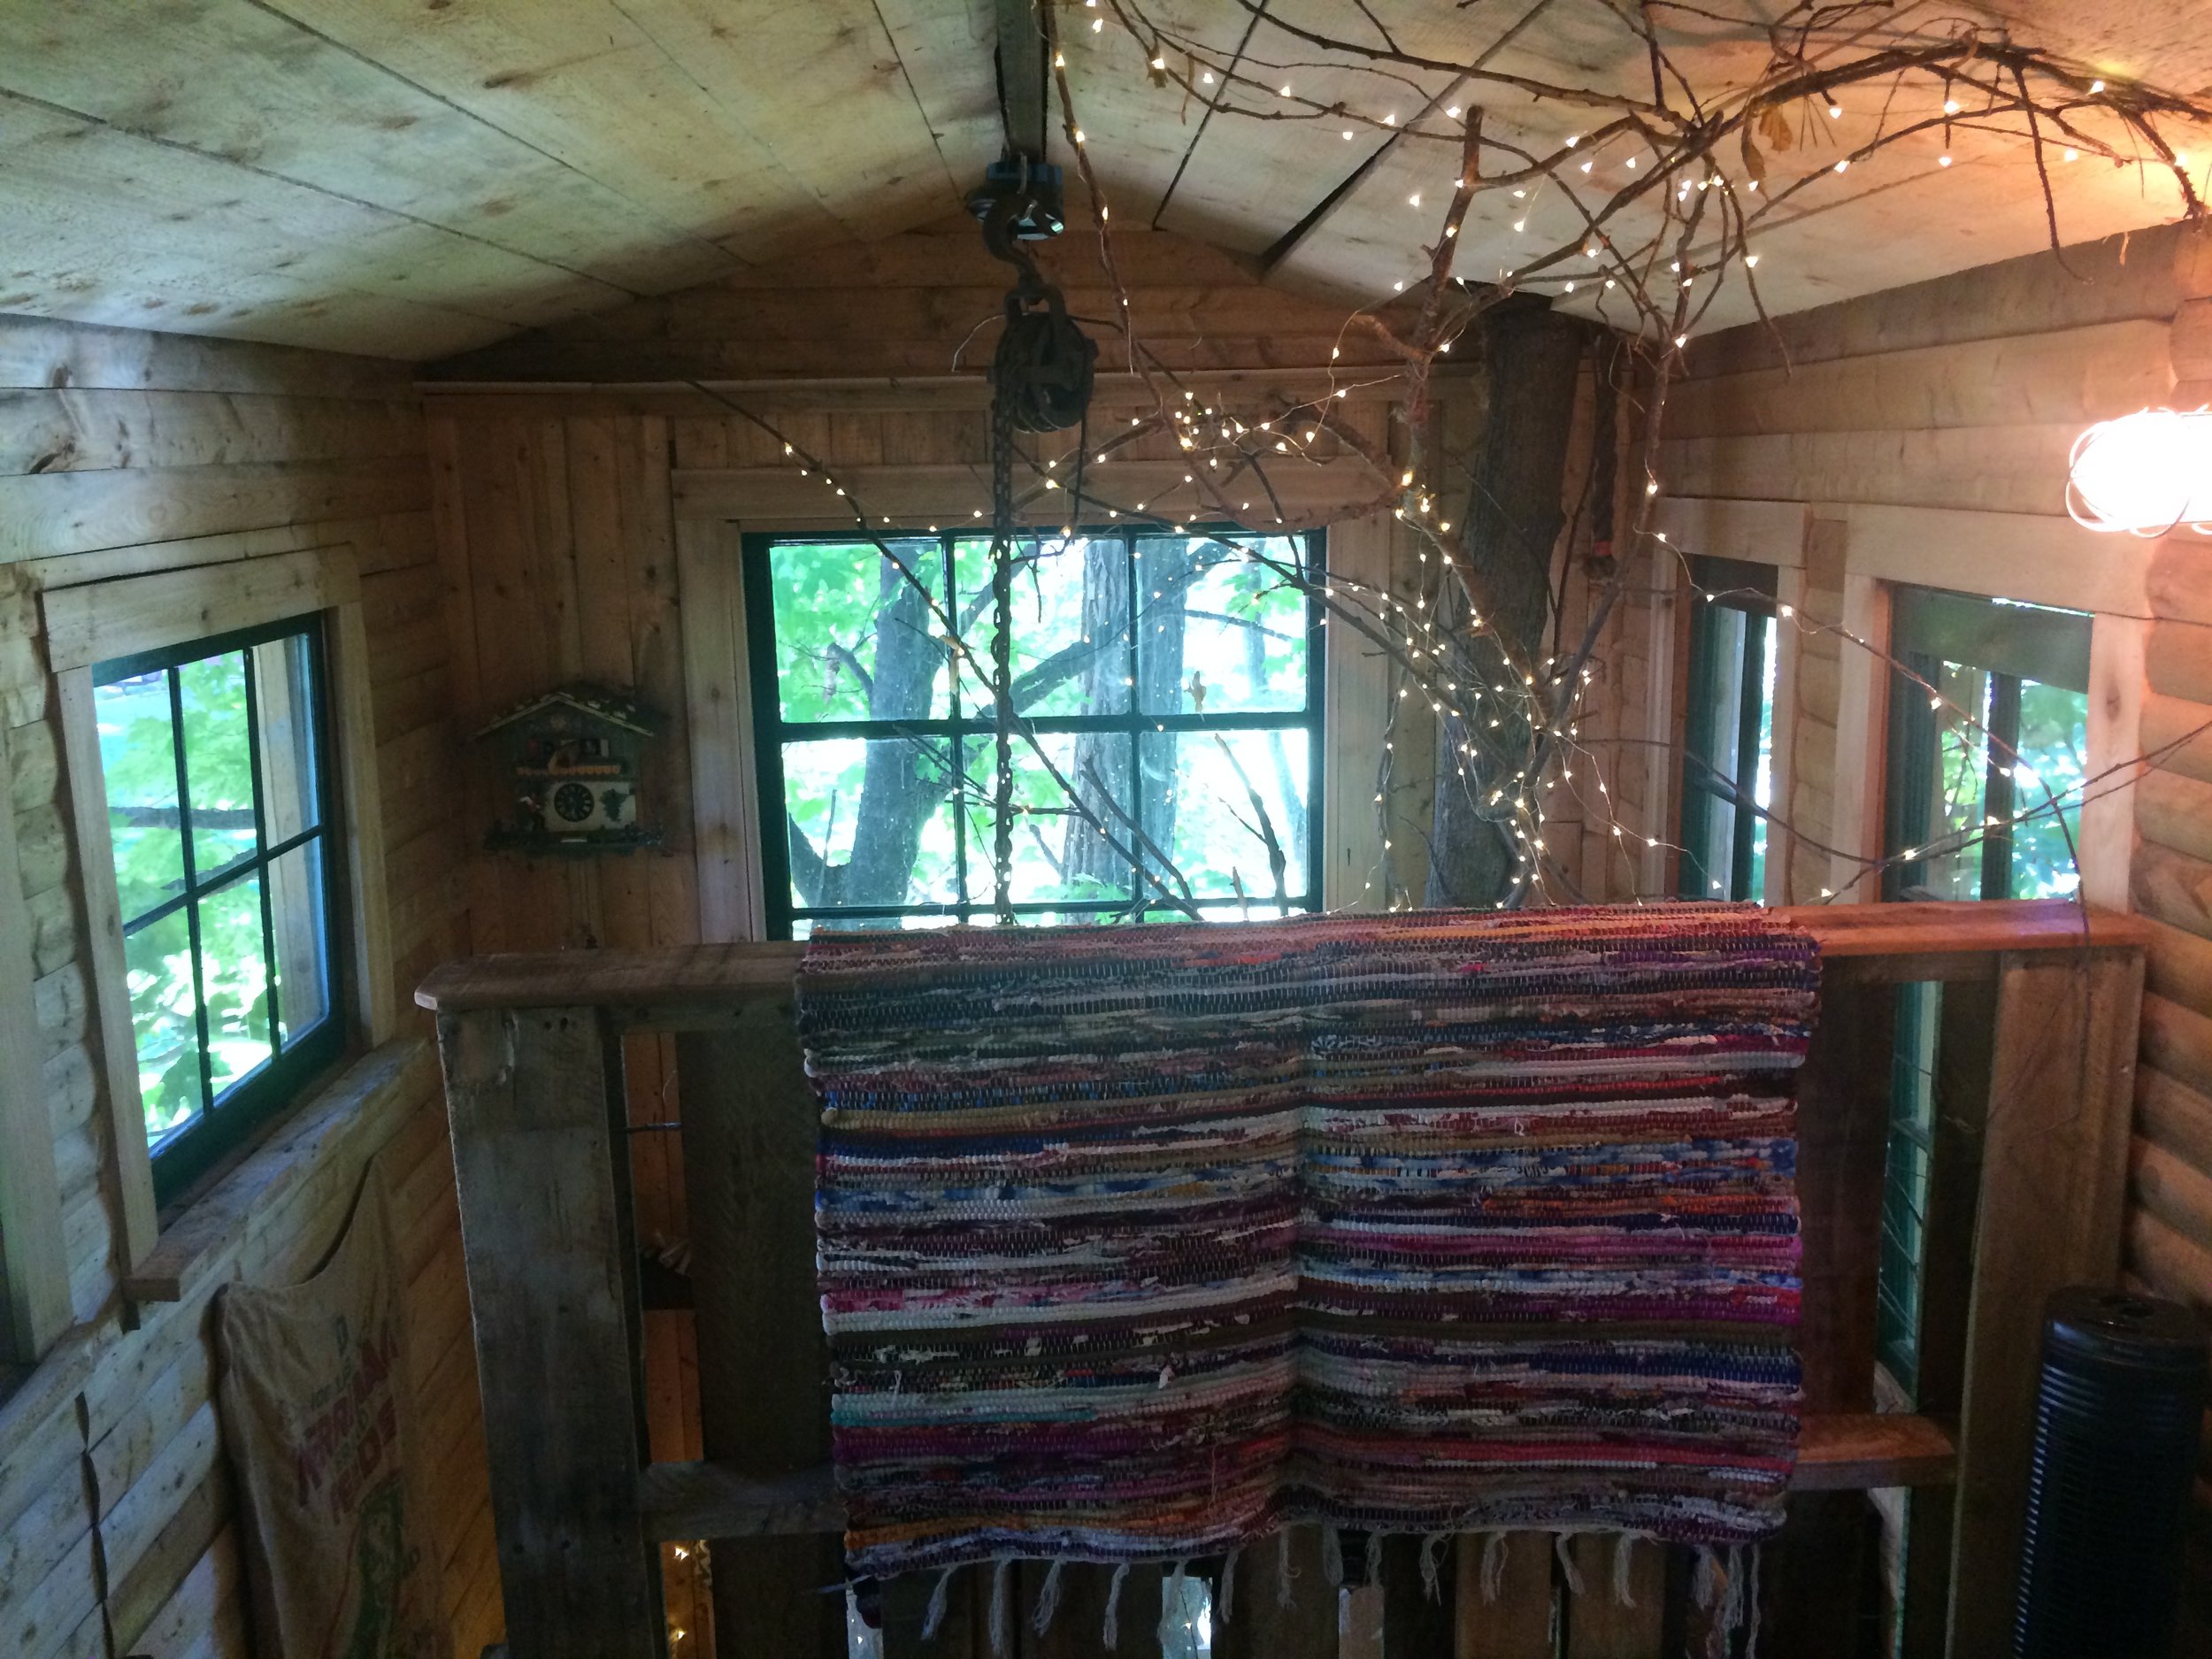


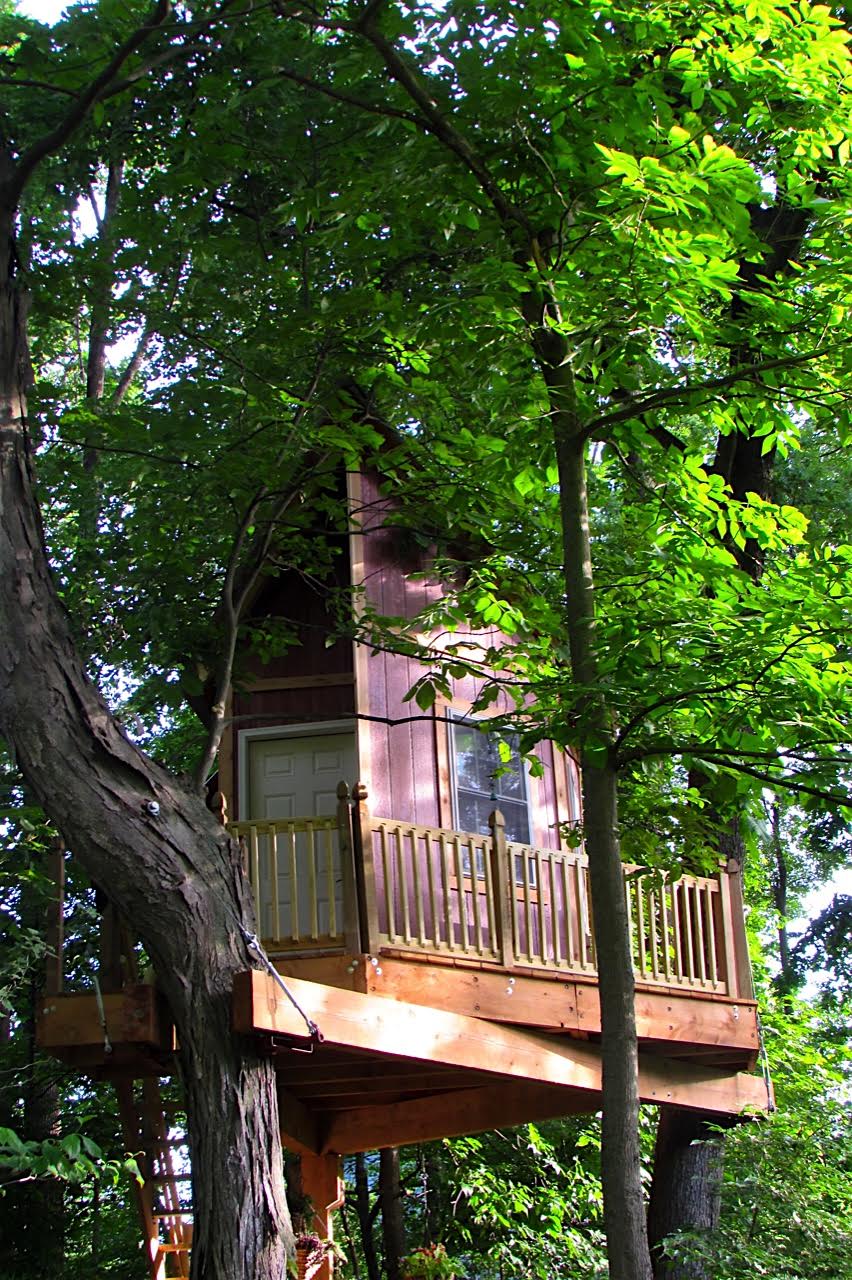
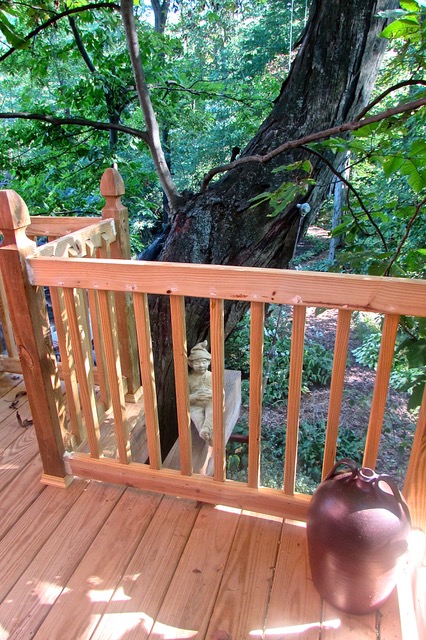
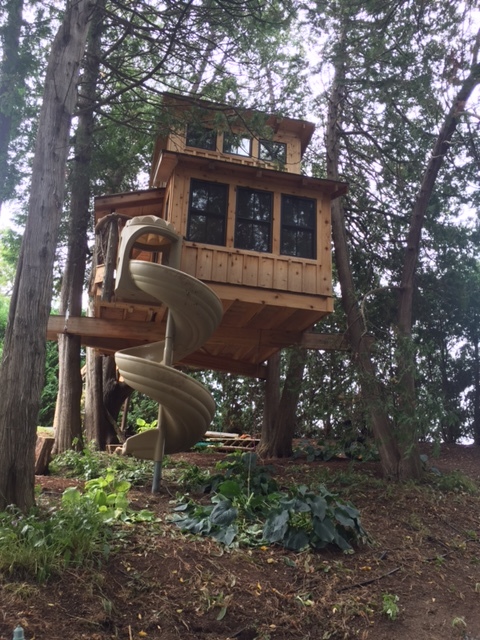
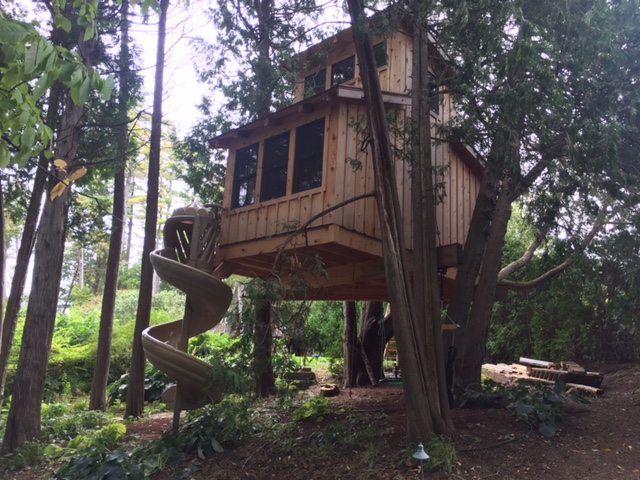
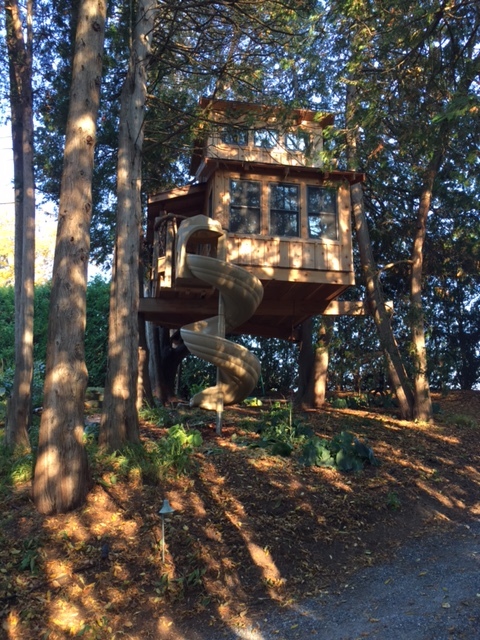
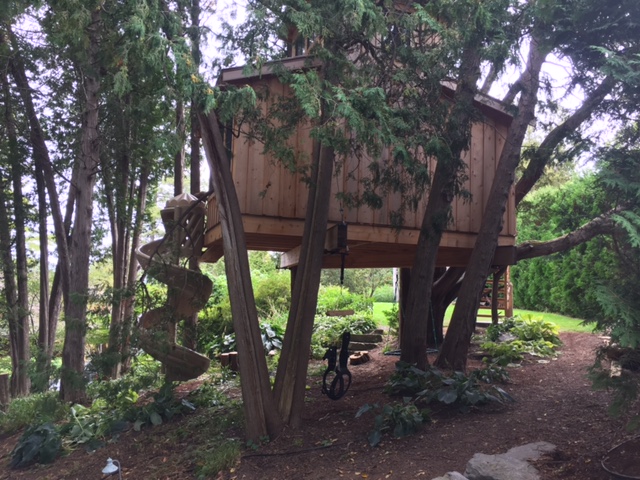
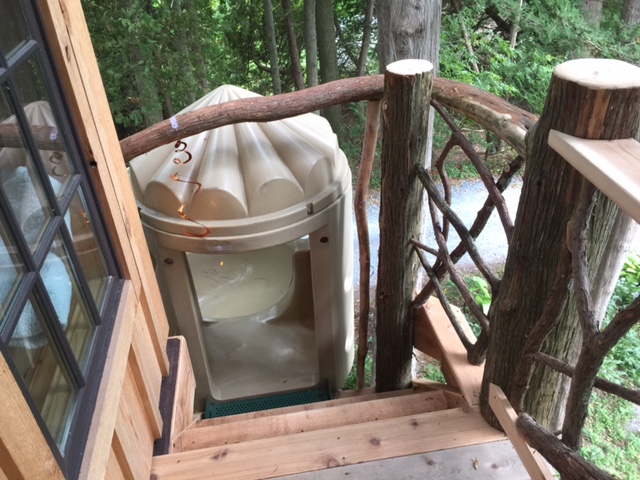
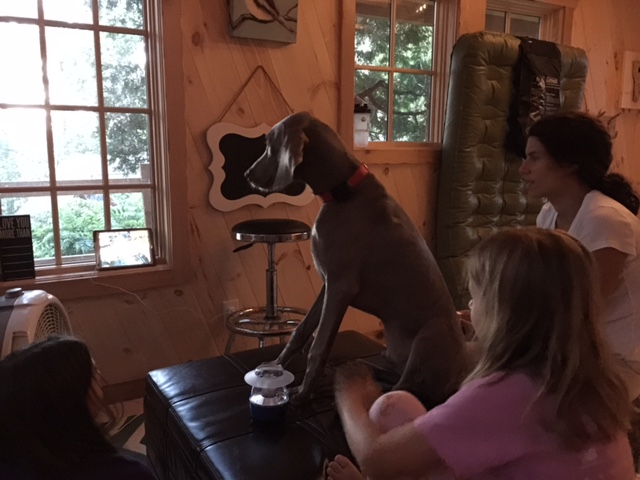
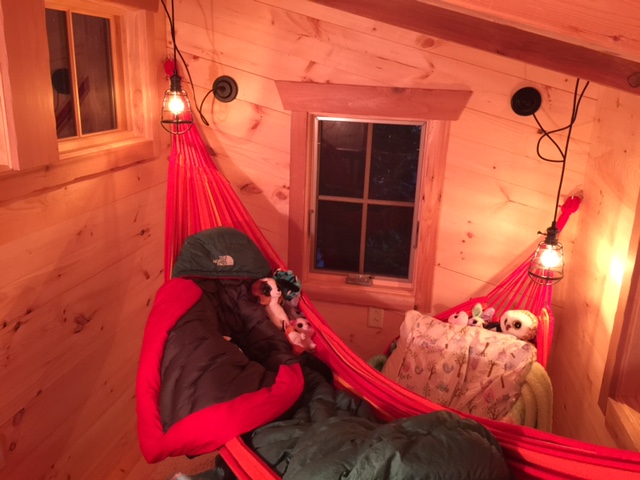
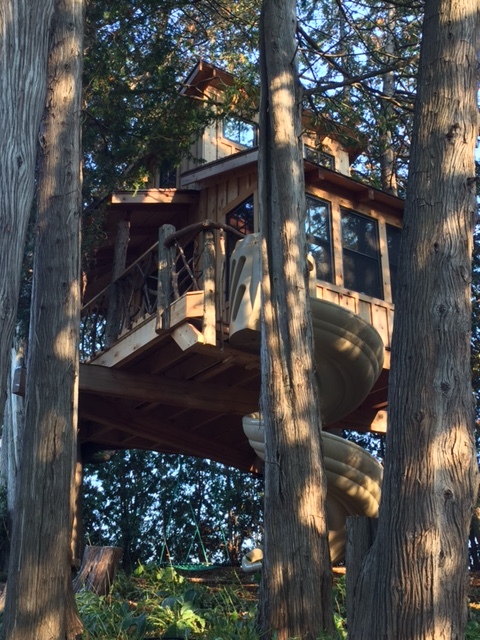
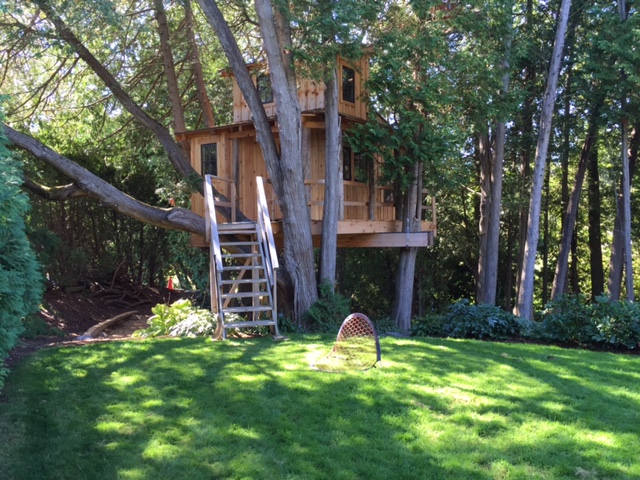
WHERE: New York
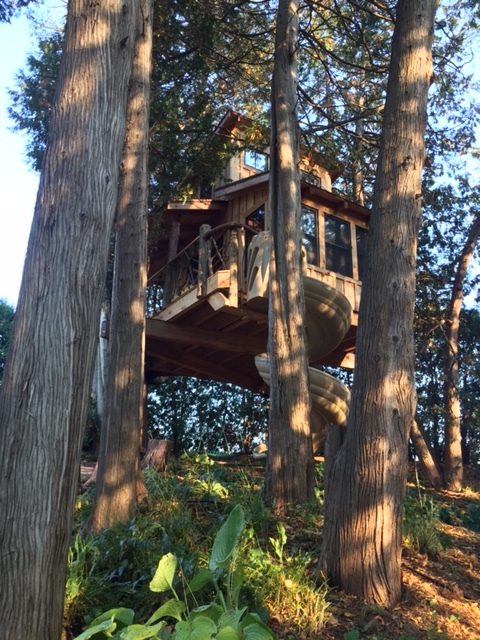
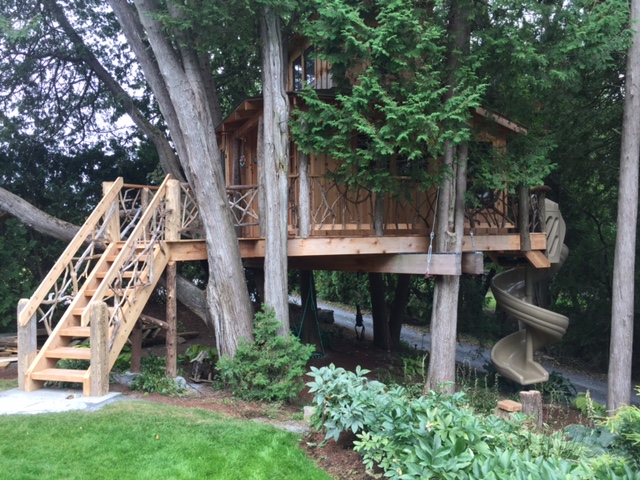
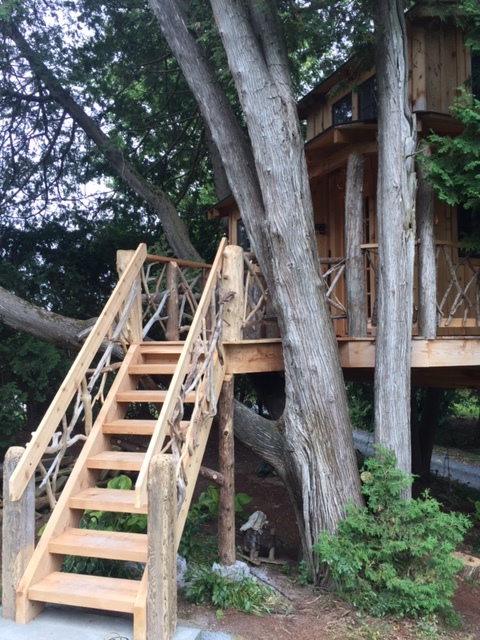
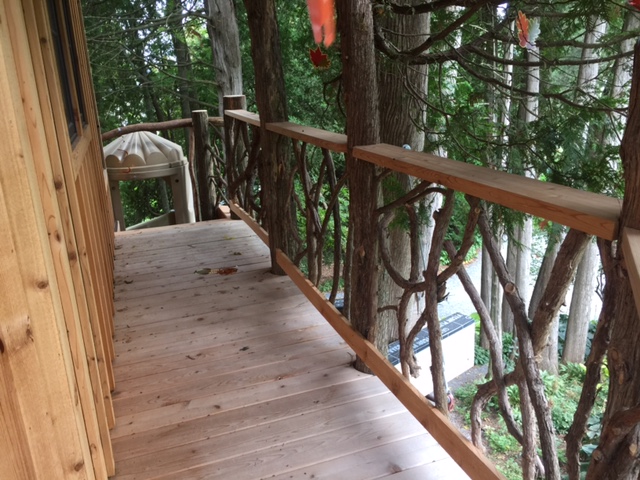
Roger built this gorgeous treehouse for his grandchildren in a grove of trees only twenty feet behind his home. Roger followed our Sahale treehouse plans, and added a few alterations to fit his scenario. Only a few weeks ago, Roger held a grand opening of the treehouse, inviting his grandchildren and neighbors to come celebrate and explore the arboreal structure. Treehouses speak to the inner child inside all of us, and we congratulate Roger on creating a space that brings people from all ages together to dream, play, and connect with nature.
Thank you to Arlen and David, Nathan, and Roger for sharing their amazing work!
Subscribe to our newsletter to stay updated on coming posts in this series.
To the trees!


 LOGIN
LOGIN